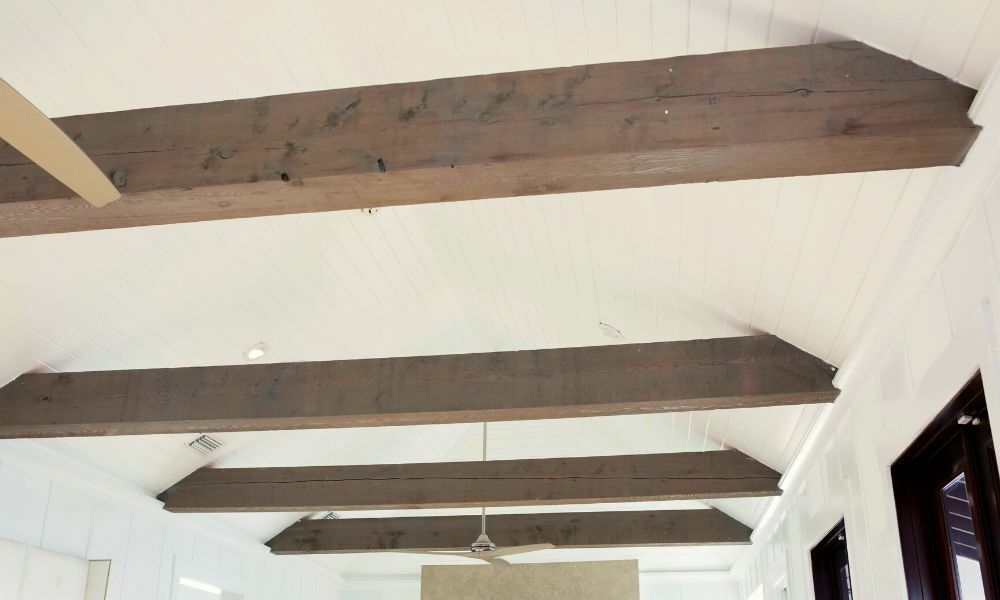
Reclaimed wood goes through a specific process to be home ready—it’s not as simple as harvesting lumber and installing it in your space. The steps to refinishing antique hand-hewn beams ensure that your wood looks incredible. Keep reading to learn more about the process that seamlessly blends rustic elements into your home.
Why Is Refinishing Important?
Refinishing reclaimed wood is essential regardless of your home accents. While its authenticity is the primary appeal of antique lumber, there are still imperfections that need to be removed by suppliers. Refinishing corrects things like bugs, nails, and chipped wood that can otherwise negatively affect the look of your hand-hewn beams.Repurposed wood for beams usually comes from old structures; these buildings have seen a lot and showcase environmental wear and tear. Treating the materials before bringing them into your home is vital to get them up to standard.
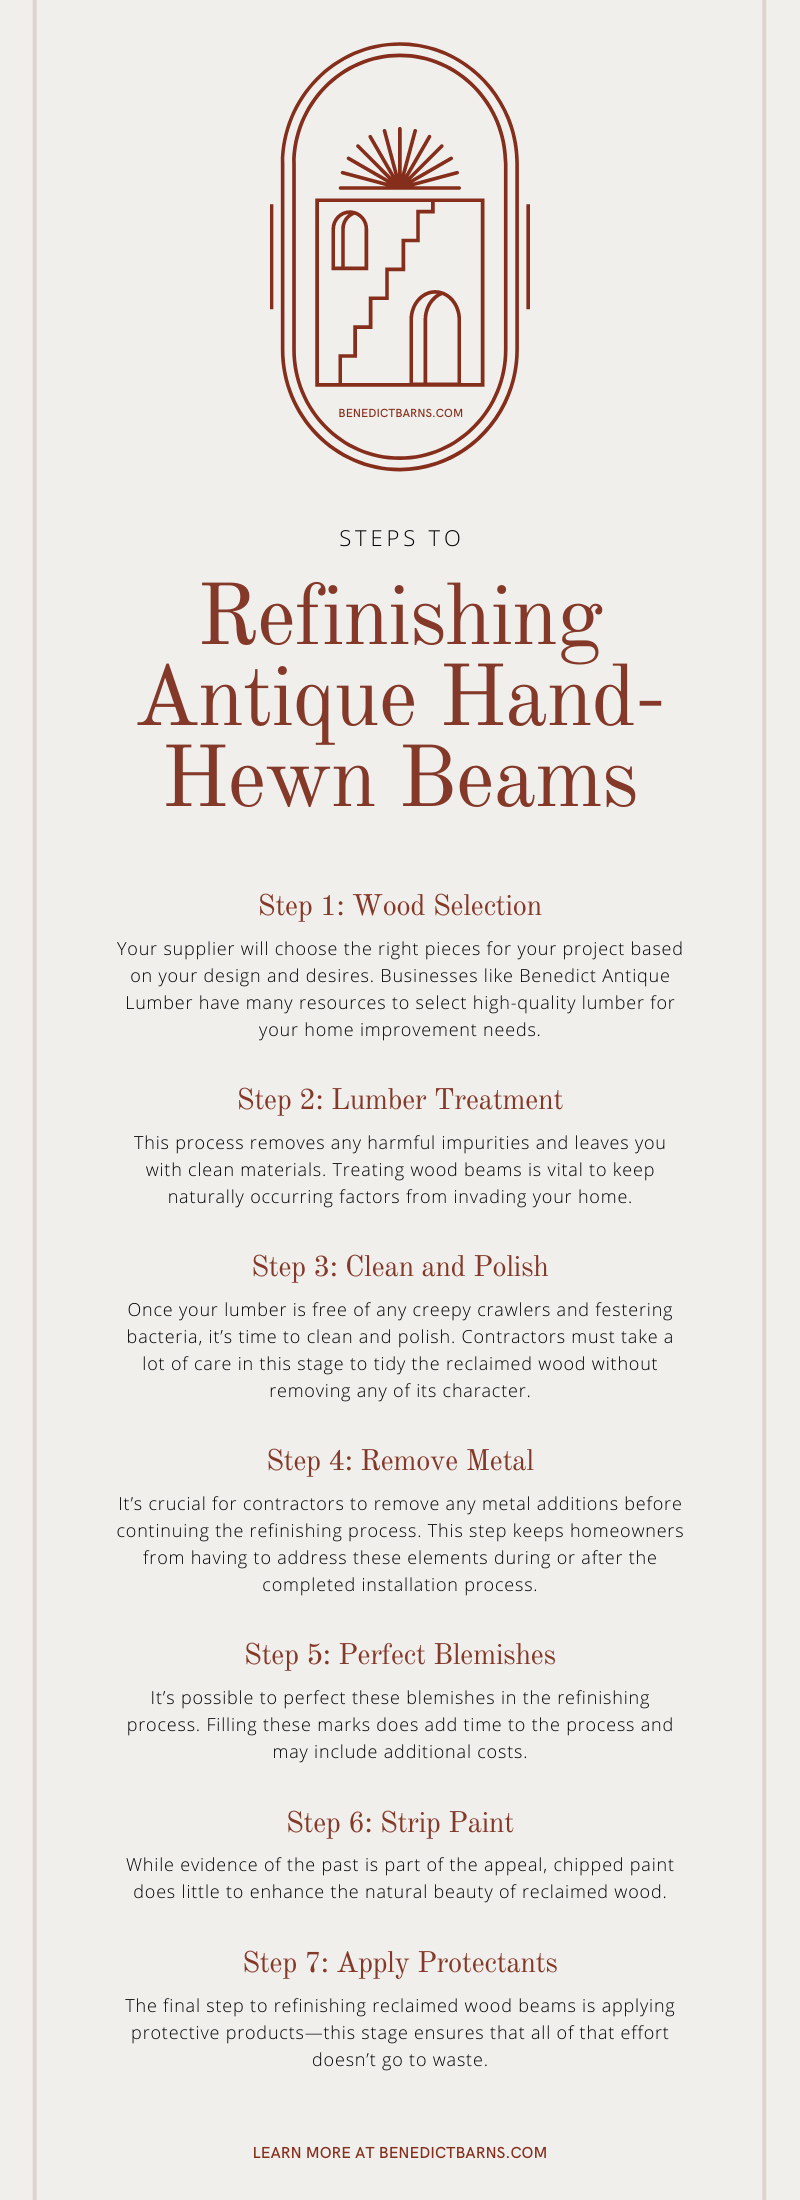
Steps to Refinishing Reclaimed Wood Beams
Your lumber supplier will have your beams ready before you start your project. However, it’s still helpful to understand the steps to refinishing antique hand-hewn beams. Knowing how the process works gives homeowners valuable insight into the reasons for pricing, timeline, and overall effort.Step 1: Wood Selection
The first step to preparing lumber for hand-hewn wood beams is material selection. Your supplier will choose the right pieces for your project based on your design and desires. Businesses like Benedict Antique Lumber have many resources to select high-quality lumber for your home improvement needs.Contractors consider factors like wood type and dimension before picking pieces for refinishing. Choosing the right lumber for a project will eliminate any excess work so you can enjoy your new accents as soon as possible.
Step 2: Lumber Treatment
One of the most critical steps to refinishing barnwood beams is treatment. This process removes any harmful impurities and leaves you with clean materials. Treating wood beams is vital to keep naturally occurring factors from invading your home.For example, it’s common for bugs, bacteria, and other things to inhabit untreated lumber. Taking the time to remove these unappealing elements will leave you with fresh wood for your home accents.
Some suppliers choose to treat their materials with heat to remove contaminants. Others, like Benedict Antique Lumber, use boric acid to cleanse and remove insects and mold while leaving behind a stunning color for your wood.
Step 3: Clean and Polish
Once your lumber is free of any creepy crawlers and festering bacteria, it’s time to clean and polish. Contractors must take a lot of care in this stage to tidy the reclaimed wood without removing any of its character.“Cleaning” doesn’t mean washing materials with soap and water; that kind of sanitization takes place in the treatment phase and doesn’t include using moisture. Instead, suppliers will use nylon brushes to take care of any chipping wood and remaining debris. The result is a polished material that still contains authentic, rustic elements.
Step 4: Remove Metal
Antique lumber for hand-hewn beams comes from very specific sources. Usually, suppliers find their materials from old structures like buildings and barns. Since this wood was involved in past construction projects, it’s common to find nails, screws, and staples in the harvested lumber.While knots and stains add to reclaimed wood’s distressed charm, leftover metal does not. Not only does the remaining hardware look unsightly, but it could also be a safety hazard.
It’s crucial for contractors to remove any metal additions before continuing the refinishing process. This step keeps homeowners from having to address these elements during or after the completed installation process.
Step 5: Perfect Blemishes
Like metal hardware, it’s not unheard of to find evidence of past work on reclaimed wood. You’ll likely find saw marks, mortise pockets, and nail holes in your hand-hewn beams. Many homeowners love these characteristics as it makes their antique beams totally unique.However, others prefer a more uniform look to their reclaimed lumber accents. It’s possible to perfect these blemishes in the refinishing process. Filling these marks does add time to the process and may include additional costs. This optional step is available for buyers so everyone can have the hand-hewn beams they desire.
Step 6: Strip Paint
Another common element many find on antique wood is old paint. Depending on where your supplier gets their materials, the wood may still have traces of past design trends on its surface. While evidence of the past is part of the appeal, chipped paint does little to enhance the natural beauty of reclaimed wood.Your contractor may choose several different techniques to strip paint from your hand-hewn beams. Pieces with thin layers of paint could use a good sanding to remove any lingering residue. However, thick layers might need chemical solvents and scraping tools to reveal the natural wood underneath.
Your lumber supplier will choose the correct method for the lumber and your project specifications. Removing paint and blemishes improves the look of your materials while increasing longevity.
Step 7: Apply Protectants
It’s clear that an immense amount of work goes into prepping wood to make it suitable for your renovation projects. The final step to refinishing reclaimed wood beams is applying protective products—this stage ensures that all of that effort doesn’t go to waste.There are various protectants your supplier may use to keep your lumber in good condition. Using insect-resistant solutions will keep termites away from your wood and kill off any lingering pests that survived the treatment process. They will also apply waxes and finishing products to enhance the wood’s color and make it shine.
Finally, your supplier will likely apply a wood sealant to safeguard all their work. These substances defend against wear and tear as well as environmental influences. Protective products are crucial to the refinishing process if you want your hand-hewn beams to withstand the test of time.
As you can see, refinishing antique hand-hewn beams takes a lot of time and effort. Benedict Antique Lumber has the resources necessary to do the hard work for you. If you’re ready to add some striking rustic elements to your home, contact us for a quote today!